Building a Simple CRUD Web Application with Django Django is a powerful web framework for building web applications with Python. In this tutorial, we'll be using Django to build a simple CRUD (Create, Read, Update, Delete) web application. We'll start by setting up a new Django project and creating a basic model for our data. Then, we'll create views to handle our CRUD operations and add templates to display our data to users. Finally, we'll run our application and test it out. Prerequisites: To follow along with this tutorial, you'll need: Python 3.6 or higher installed on your computer Django 3.1 or higher installed (you can install it using pip) Basic knowledge of Python and HTML Step 1: Creating a New Django Project The first step in building our CRUD web application is to create a new Django project. To do this, open up your terminal and run the following command: django-admin startproject crud_project This will create a new Django project named "crud_proj...
Building a Simple CRUD Web Application with Django
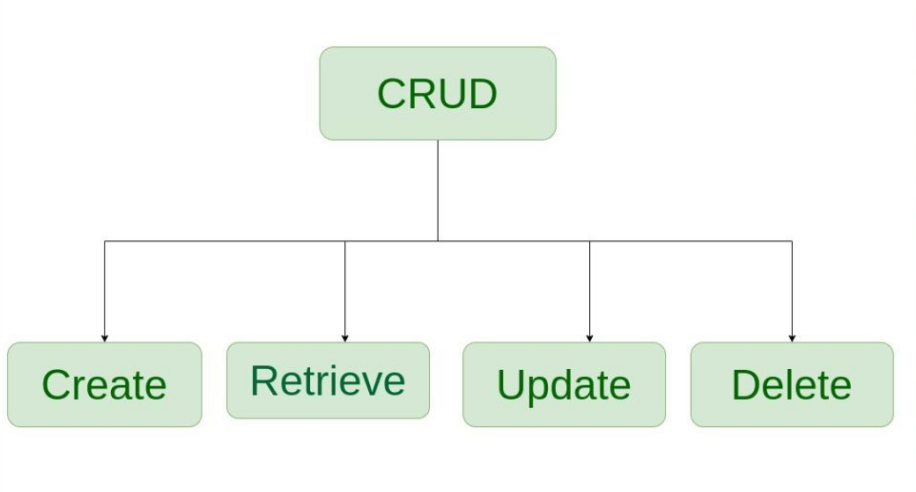
Django is a powerful web framework for building web applications with Python. In this tutorial, we'll be using Django to build a simple CRUD (Create, Read, Update, Delete) web application. We'll start by setting up a new Django project and creating a basic model for our data. Then, we'll create views to handle our CRUD operations and add templates to display our data to users. Finally, we'll run our application and test it out.
Prerequisites:
To follow along with this tutorial, you'll need:
- Python 3.6 or higher installed on your computer
- Django 3.1 or higher installed (you can install it using pip)
- Basic knowledge of Python and HTML
Step 1: Creating a New Django Project
The first step in building our CRUD web application is to create a new Django project. To do this, open up your terminal and run the following command:
django-admin startproject crud_project
This will create a new Django project named "crud_project" in your current directory.
Step 2: Creating a Django App
Next, we'll create a Django app inside our project. To do this, navigate to the project directory using the following command:
cd crud_projectThen, run the following command to create a new app named "crud":
python manage.py startapp crud
This will create a new app named "crud" inside our project directory.
Step 3: Creating a Model
Now that we have our app set up, we can create a model for our data. In this example, we'll create a simple "Person" model that has a name and an age. Open up the "crud/models.py" file and add the following code:
from django.db import models class Person(models.Model):
    name = models.CharField(max_length=50)
    age = models.IntegerField()
This creates a new model named "Person" with two fields: "name" and "age".
Step 4: Migrating the Database
Next, we need to migrate our model to create the necessary database tables. Run the following command to do this:
python manage.py makemigrations
This will generate a new migration file in the "crud/migrations" directory. To apply the migration and create the necessary database tables, run the following command:
python manage.py migrate
Step 5: Creating Views
Now that our model is set up and our database is ready, we can create views to handle our CRUD operations. In this example, we'll create four views: one to display all people, one to create a new person, one to update an existing person, and one to delete a person.
Open up the "crud/views.py" file and add the following code:
from django.shortcuts import render, get_object_or_404, redirect
from .models import Person
from .forms import PersonFormdef person_list(request):
    people = Person.objects.all()
    return render(request, 'crud/person_list.html', {'people': people})

def person_create(request):
    form = PersonForm(request.POST or None)
    if form.is_valid():
        form.save()
        return redirect('person_list')
    return render(request, 'crud/person_form.html', {'form': form})

def person_update(request, id):
    person = get_object_or_404(Person, id=id)
    form = PersonForm(request.POST or None, instance=person)
    if form.is_valid():
        form.save()
        return redirect('person_list')
    return render(request, 'crud/person_form.html', {'form': form})

def person_delete(request, id):
    person = get_object_or_404(Person, id=id)
    if request.method == 'POST':
        person.delete()
        return redirect('person_list')
    return render(request, 'crud/person_confirm_delete.html', {'person': person})
In this code, we've created four views:
- person_list: This view displays a list of all people in the database.
- person_create: This view handles the creation of a new person. It displays a form to the user and saves the new person to the database when the form is submitted.
- person_update: This view handles the updating of an existing person. It displays a form pre-populated with the existing person's information and saves the updated person to the database when the form is submitted.
- person_delete: This view handles the deletion of an existing person. It displays a confirmation page to the user and deletes the person from the database when the confirmation is submitted.
Step 6: Creating Templates
Now that our views are set up, we need to create templates to display our data to users. In this example, we'll create three templates: one to display a list of all people, one to display a form for creating or updating a person, and one to display a confirmation page for deleting a person.
Create a new directory named "templates" inside your "crud" app directory. Inside the "templates" directory, create a new directory named "crud". Inside the "crud" directory, create three new HTML files named "person_list.html", "person_form.html", and "person_confirm_delete.html", respectively.
Here's the code for "person_list.html":
{% extends 'crud/base.html' %}

{% block content %}
  <h1>People</h1>
  <table>
    <thead>
      <tr>
        <th>Name</th>
        <th>Age</th>
        <th>Action</th>
      </tr>
    </thead>
    <tbody>
      {% for person in people %}
        <tr>
          <td>{{ person.name }}</td>
          <td>{{ person.age }}</td>
          <td>
            <a href="{% url 'person_update' person.id %}">Edit</a>
            <a href="{% url 'person_delete' person.id %}">Delete</a>
          </td>
        </tr>
      {% endfor %}
    </tbody>
  </table>
  <a href="{% url 'person_create' %}">Add Person</a>
{% endblock %}
Here's the code for "person_form.html":
{% extends 'crud/base.html' %}

{% block content %}
  <h1>{{ form_title }}</h1>
  <form method="post">
    {% csrf_token %}
    {{ form.as_p }}
    <button type="submit">Save</button>
  </form>
{% endblock %}
And here's the completed "person_confirm_delete.html" template:
{% extends 'crud/base.html' %}

{% block content %}
  <h1>Confirm Delete</h1>
  <p>Are you sure you want to delete {{ person.name }}?</p>
  <form method="post">
    {% csrf_token %}
    <button type="submit">Yes</button>
    <a href="{% url 'person_list' %}">No</a>
  </form>
{% endblock %}
Step 7: Creating URLs
Finally, we need to create URLs for our views so that users can navigate to them. In the "urls.py" file for your "crud" app directory, add the following code:
from django.urls import path
from . import views

urlpatterns = [
    path('', views.person_list, name='person_list'),
    path('create/', views.person_create, name='person_create'),
    path('update/<int:id>/', views.person_update, name='person_update'),
    path('delete/<int:id>/', views.person_delete, name='person_delete'),
]
This code creates four URLs:
- The root URL ('') points to the "person_list" view.
- The "create/" URL points to the "person_create" view.
- The "update/int:id/" URL points to the "person_update" view, where "int:id" is the ID of the person to be updated.
- The "delete/int:id/" URL points to the "person_delete" view, where "int:id" is the ID of the person to be deleted.
Step 8: Testing the Application
Now that our application is set up, we can test it to make sure everything works correctly. Start the development server by running the following command from the command prompt:
python manage.py runserver
Open a web browser and navigate to "http://127.0.0.1:8000/" to see the list of people in your database. Click on the "Add Person" link to create a new person. Fill out the form and click the "Save" button to save the new person to the database.
Click on the "Edit" link next to a person to update their information. Make changes to the form and click the "Save" button to save the updated information to the database.
Click on the "Delete" link next to a person to delete them from the database. Confirm the deletion on the next page to remove the person from the database.
Congratulations! You've built a simple CRUD web application with Django.
Comments
Post a Comment